Framer
How to Customize Framer Templates: The Basics
In this guide, I'll show you the exact techniques that have cut my design time in half, and you'll learn how to make Framer templates work for you.

Hamza Ehsan
Web Designer & Entrepreneur

Deadlines and blank canvases - a combination that makes even the most experienced designers nervous.
My first Framer project started exactly this way, but with zero experience. But instead of panicking, I discovered something that changed everything: Framer templates.
Not using them as-is, but quite literally taking them apart.
I'd swap components, change layouts, and rebuild sections until I understood how everything worked together. And I learnt more than any tutorial could ever teach.
Since then, I've built loads of websites without writing a single line of code. These aren't your generic templates, either – they're fully customized, professional designs that have helped me generate over $10,000 monthly.
The secret is knowing exactly how to transform templates into something unique.
In this guide, I'll show you the exact techniques that have cut my design time in half, and you'll learn how to make Framer templates work for you.
Let's get into it.
What are Framer templates?
Framer templates are ready-to-go website designs with all the good stuff already baked in - responsive layouts, functional components, interactive animations, and professional styling.
You can tweak basically everything in a template without code. Changes are all made in a visual editor and you watch them happen as you implement them. That’s it.
Most come with:
Designs that respond well to phones, tablets, and laptops
Modular components you can rearrange as needed
Built-in animations that would be complex to code
Integration options for forms, analytics, and other tools
Starting with a template gives you direction while still allowing for customization. You're not starting from scratch, just building on top of a solid foundation.
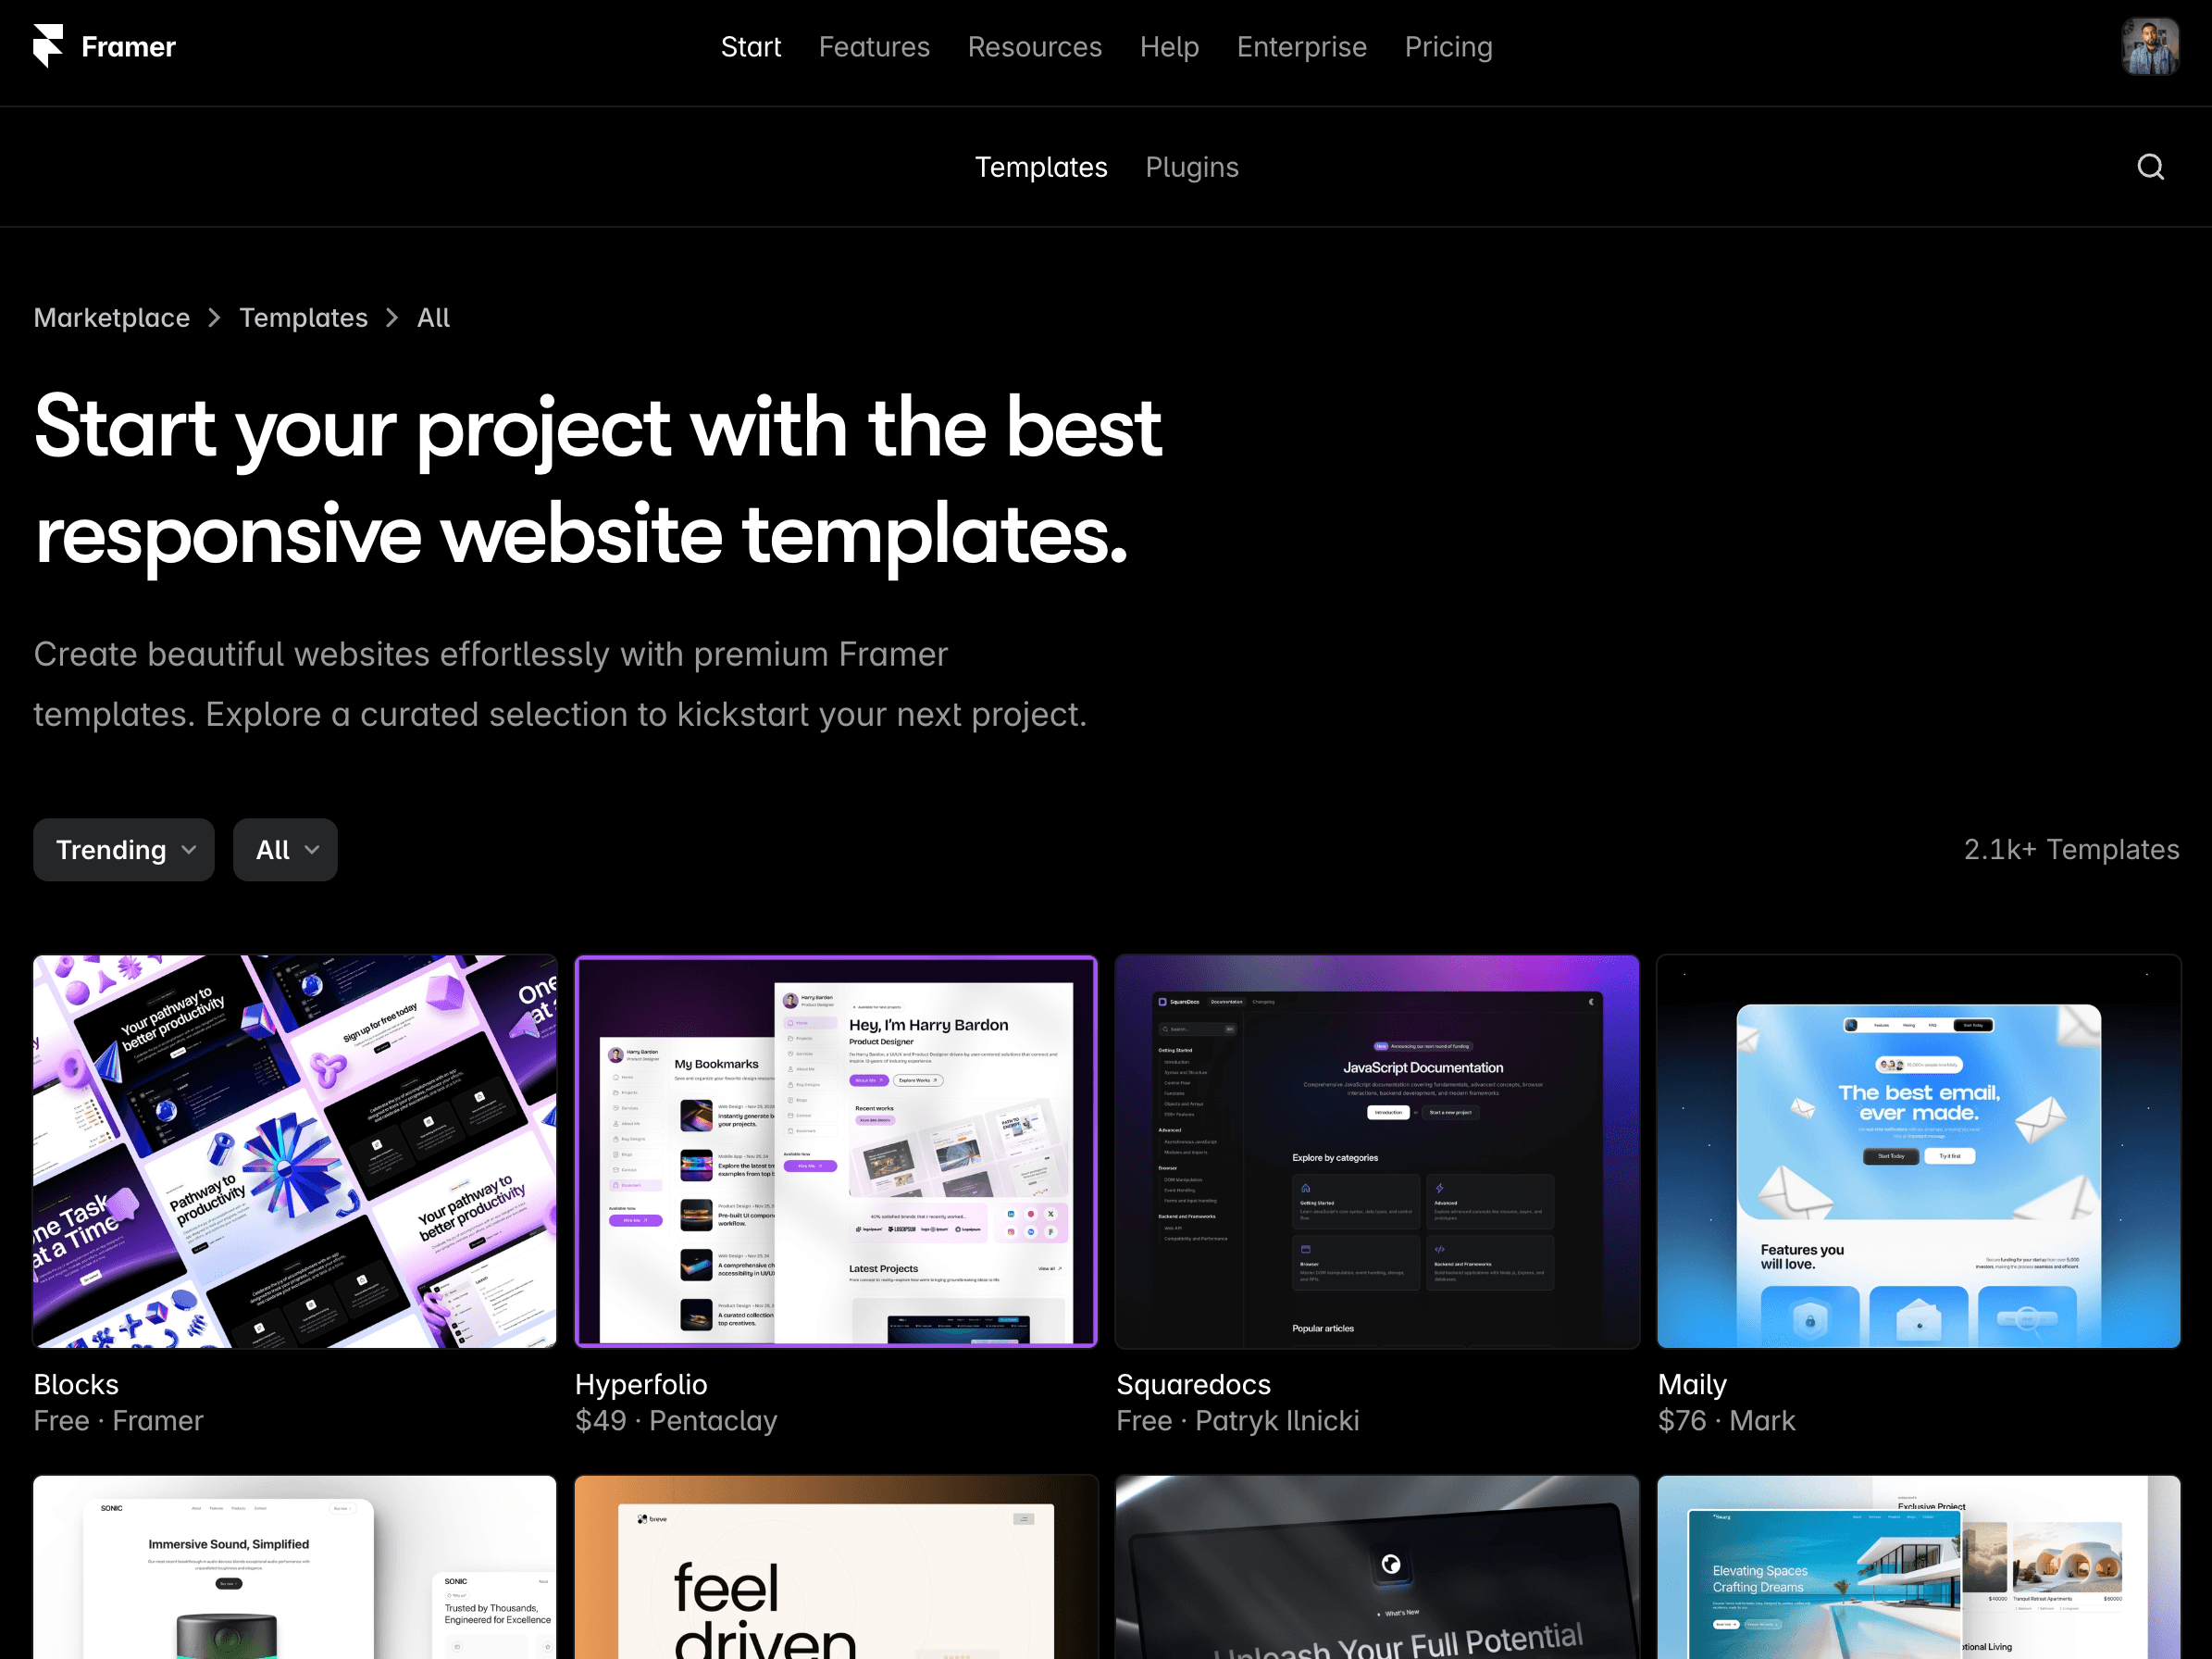
The Framer marketplace currently offers over 2,000 templates as of right now. Some won't cost you a penny, while premium options typically range from $40-100—still significantly less expensive than hiring a designer.
How to choose a Framer template

Your template choice makes or breaks this whole process.
Choose wisely and customization feels like play. Choose poorly and you'll waste hours fighting against a design that doesn't meet your needs.
First up - figure out exactly what your site needs to do. Selling stuff? Showing off your work? There's a template for that.
The one thing I’d say here is that colors and images are easy to change later, so don’t let them throw your opinion.
What really matters is the structure:
Layout: Does it have space for all your content?
Navigation: Simple menu or something with dropdowns?
Features: Need things like galleries or contact forms? Make sure they're already built in.
Speed: Give it a quick test on your phone. If it loads slowly, your visitors will bounce. Fast.
I like to take my time with this part. If it’s rushed, you could end up spending twice as long fighting a template that was never right to begin with.
If you're ready to get started but not sure where to begin, I've created a quick resource to help you find the perfect template for your project. You can check it out here.
Setting up your Framer website

Now that you've found a template that fits your needs, let's get it into your workspace.
First, you'll need a Framer account – you can sign up via this link. The free tier will be enough until you're ready to publish.
Once you're in, find your template and hit the 'Use for Free' button (or check your emails if you purchased a premium one).
Opening your template for the first time can be pretty overwhelming, so let me walk you through the basics:
The canvas in the middle is your actual website
The left sidebar shows all your pages and components
The right panel is where all your editing options live
Take a minute to click around without changing anything. Most templates come with multiple pre-built pages, so a quick browse will help you figure out what you're working with.
Hit the preview button in the top right to see how the site looks in a browser.
One of Framer's strongest features is its component system. They’re a bit like building blocks you can use over and over. Change a component once, and it updates everywhere - which is a brilliant time-saver once you figure out how it works.
But before you change anything, make sure you give your document a name.
Great work. Now let’s customize.
Step 1: Changing colors and fonts
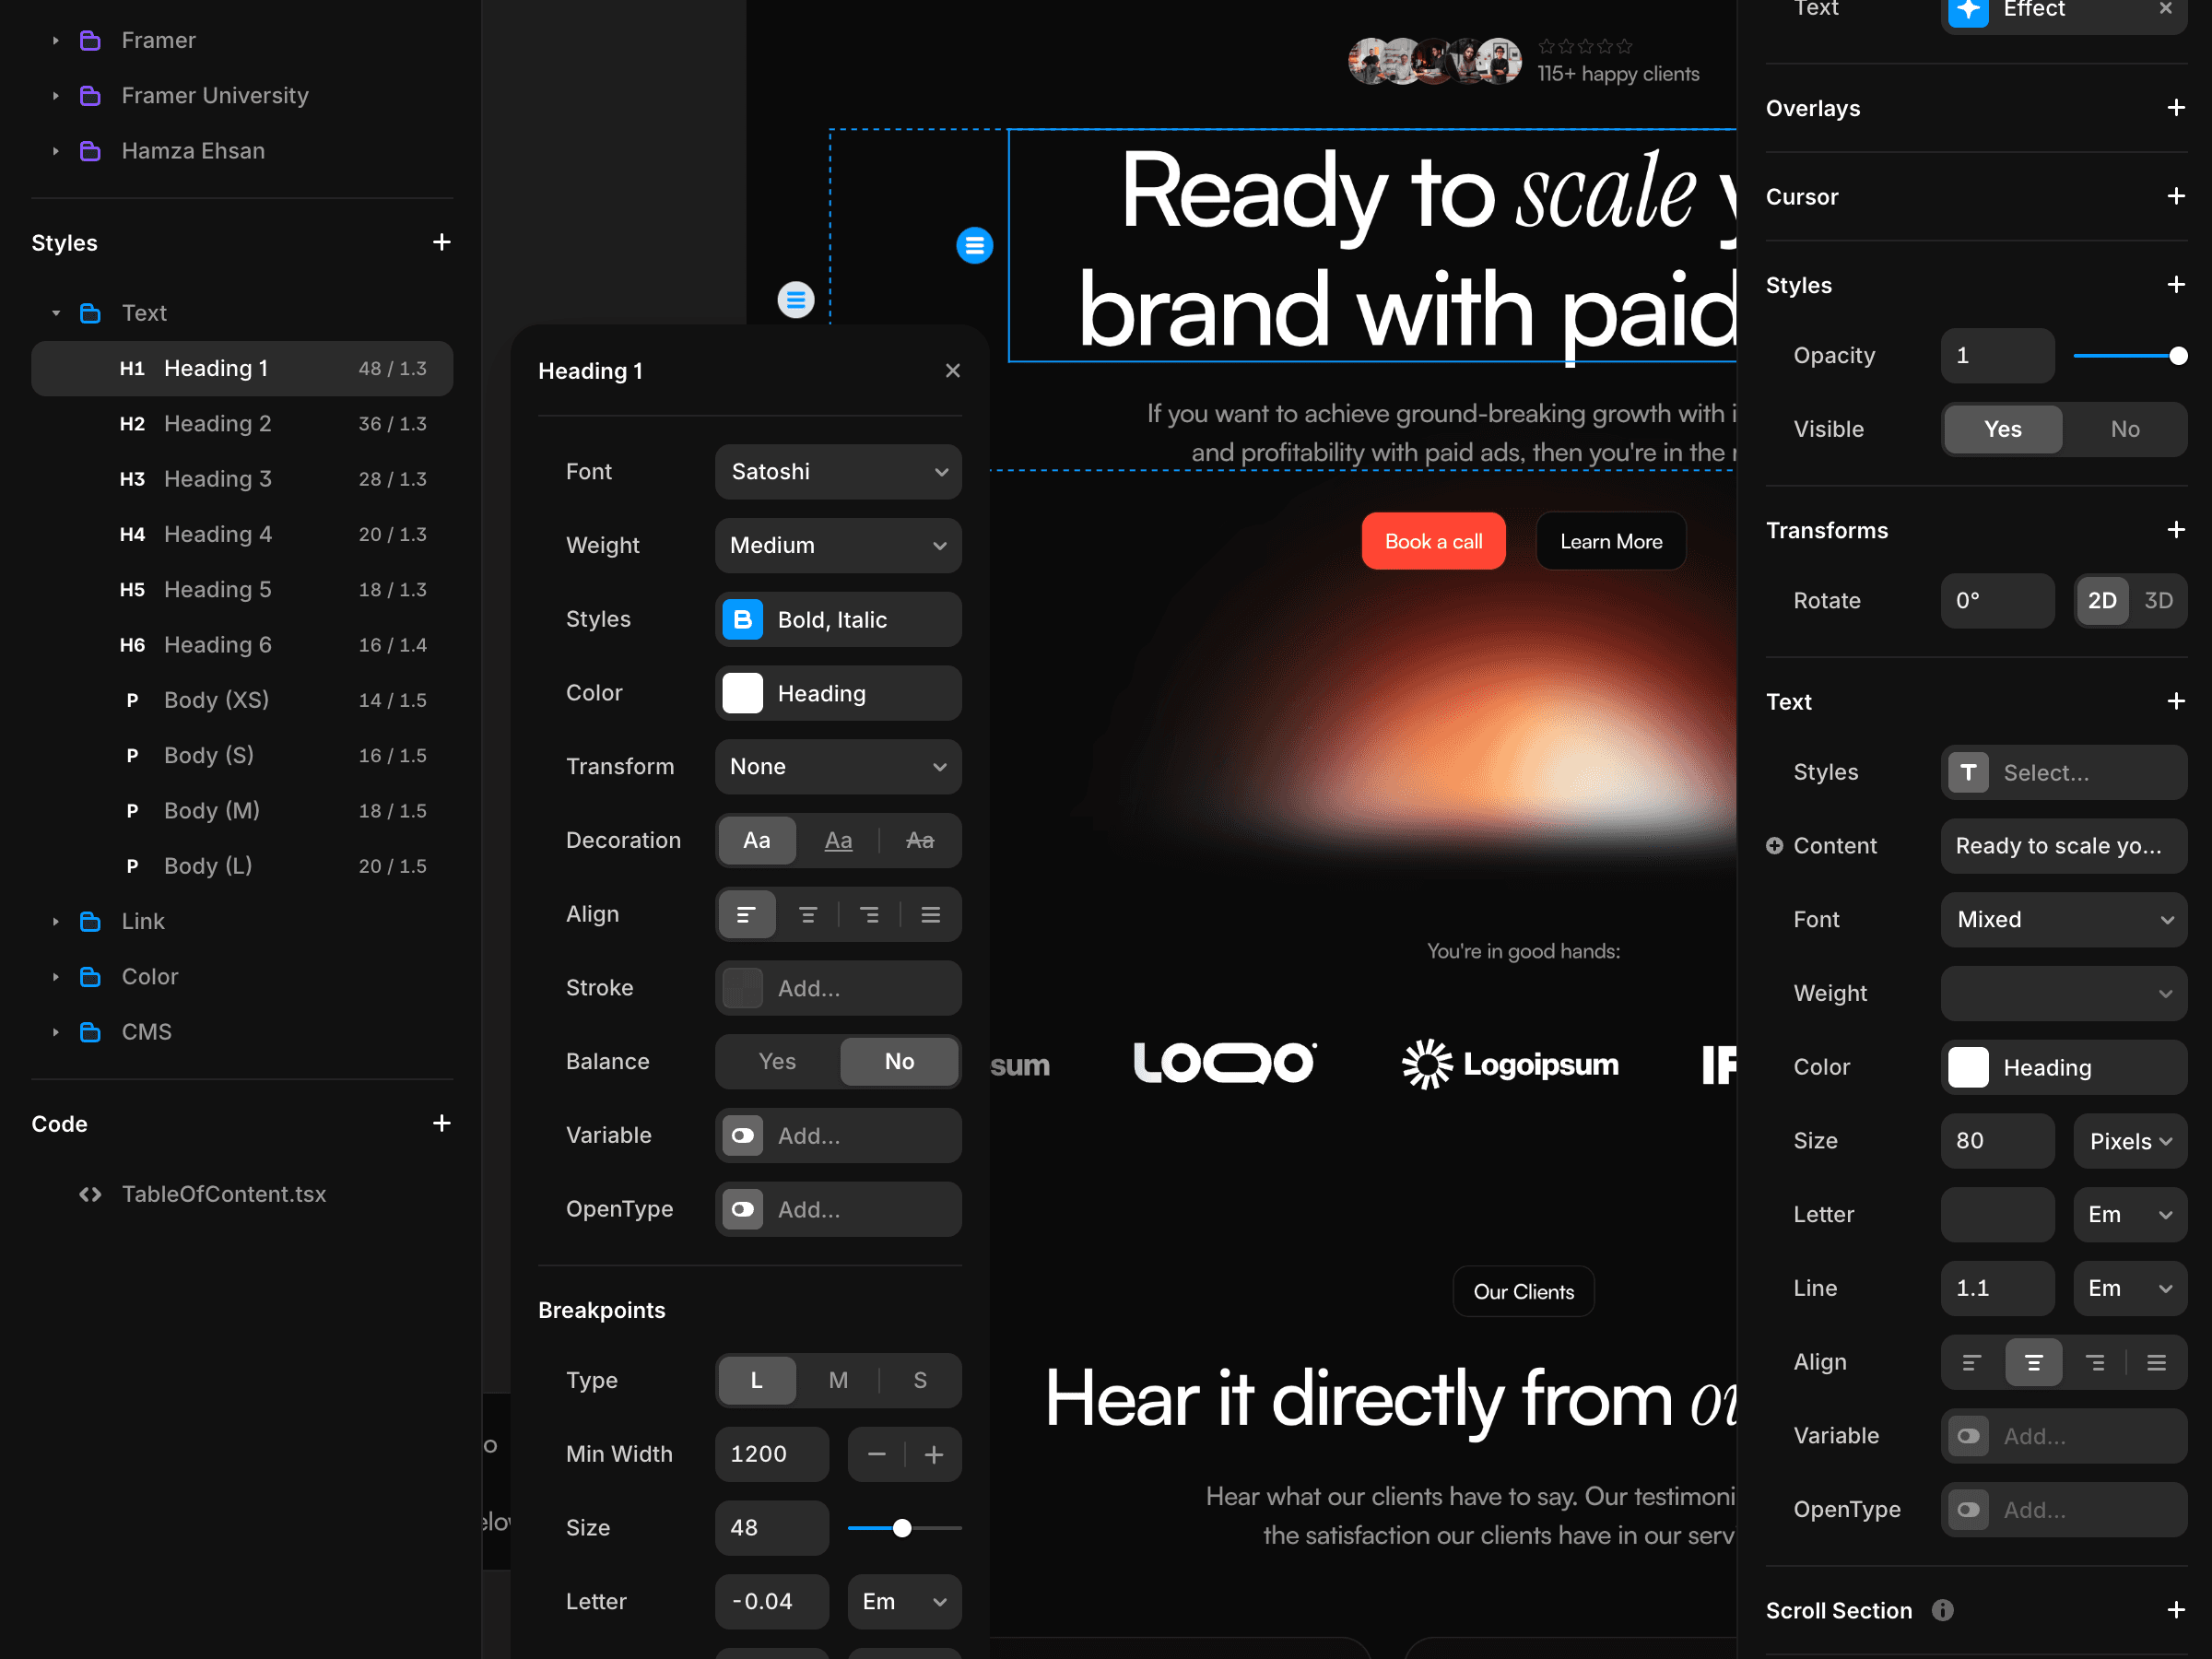
Want to make a template feel like yours? Start with colors and fonts.
Most quality Framer templates use design systems with global styles, which means you can update the entire site's look with just a few clicks.
Head to the "Assets" tab in the left sidebar and find the colors section. When you select a color swatch and change it, every element using that color will automatically update across your entire site.
For fonts, look for "Typography" in the same panel.
The best looking websites typically use just 2-3 font styles - one for headings, another for subheadings, and a third for body text. This creates visual hierarchy while maintaining consistency.
If you haven’t got a visual identity ready to go for your brand, it’s a good idea to work on that first. Here are a couple of tools you can use to experiment:
Step 2: Updating images and content
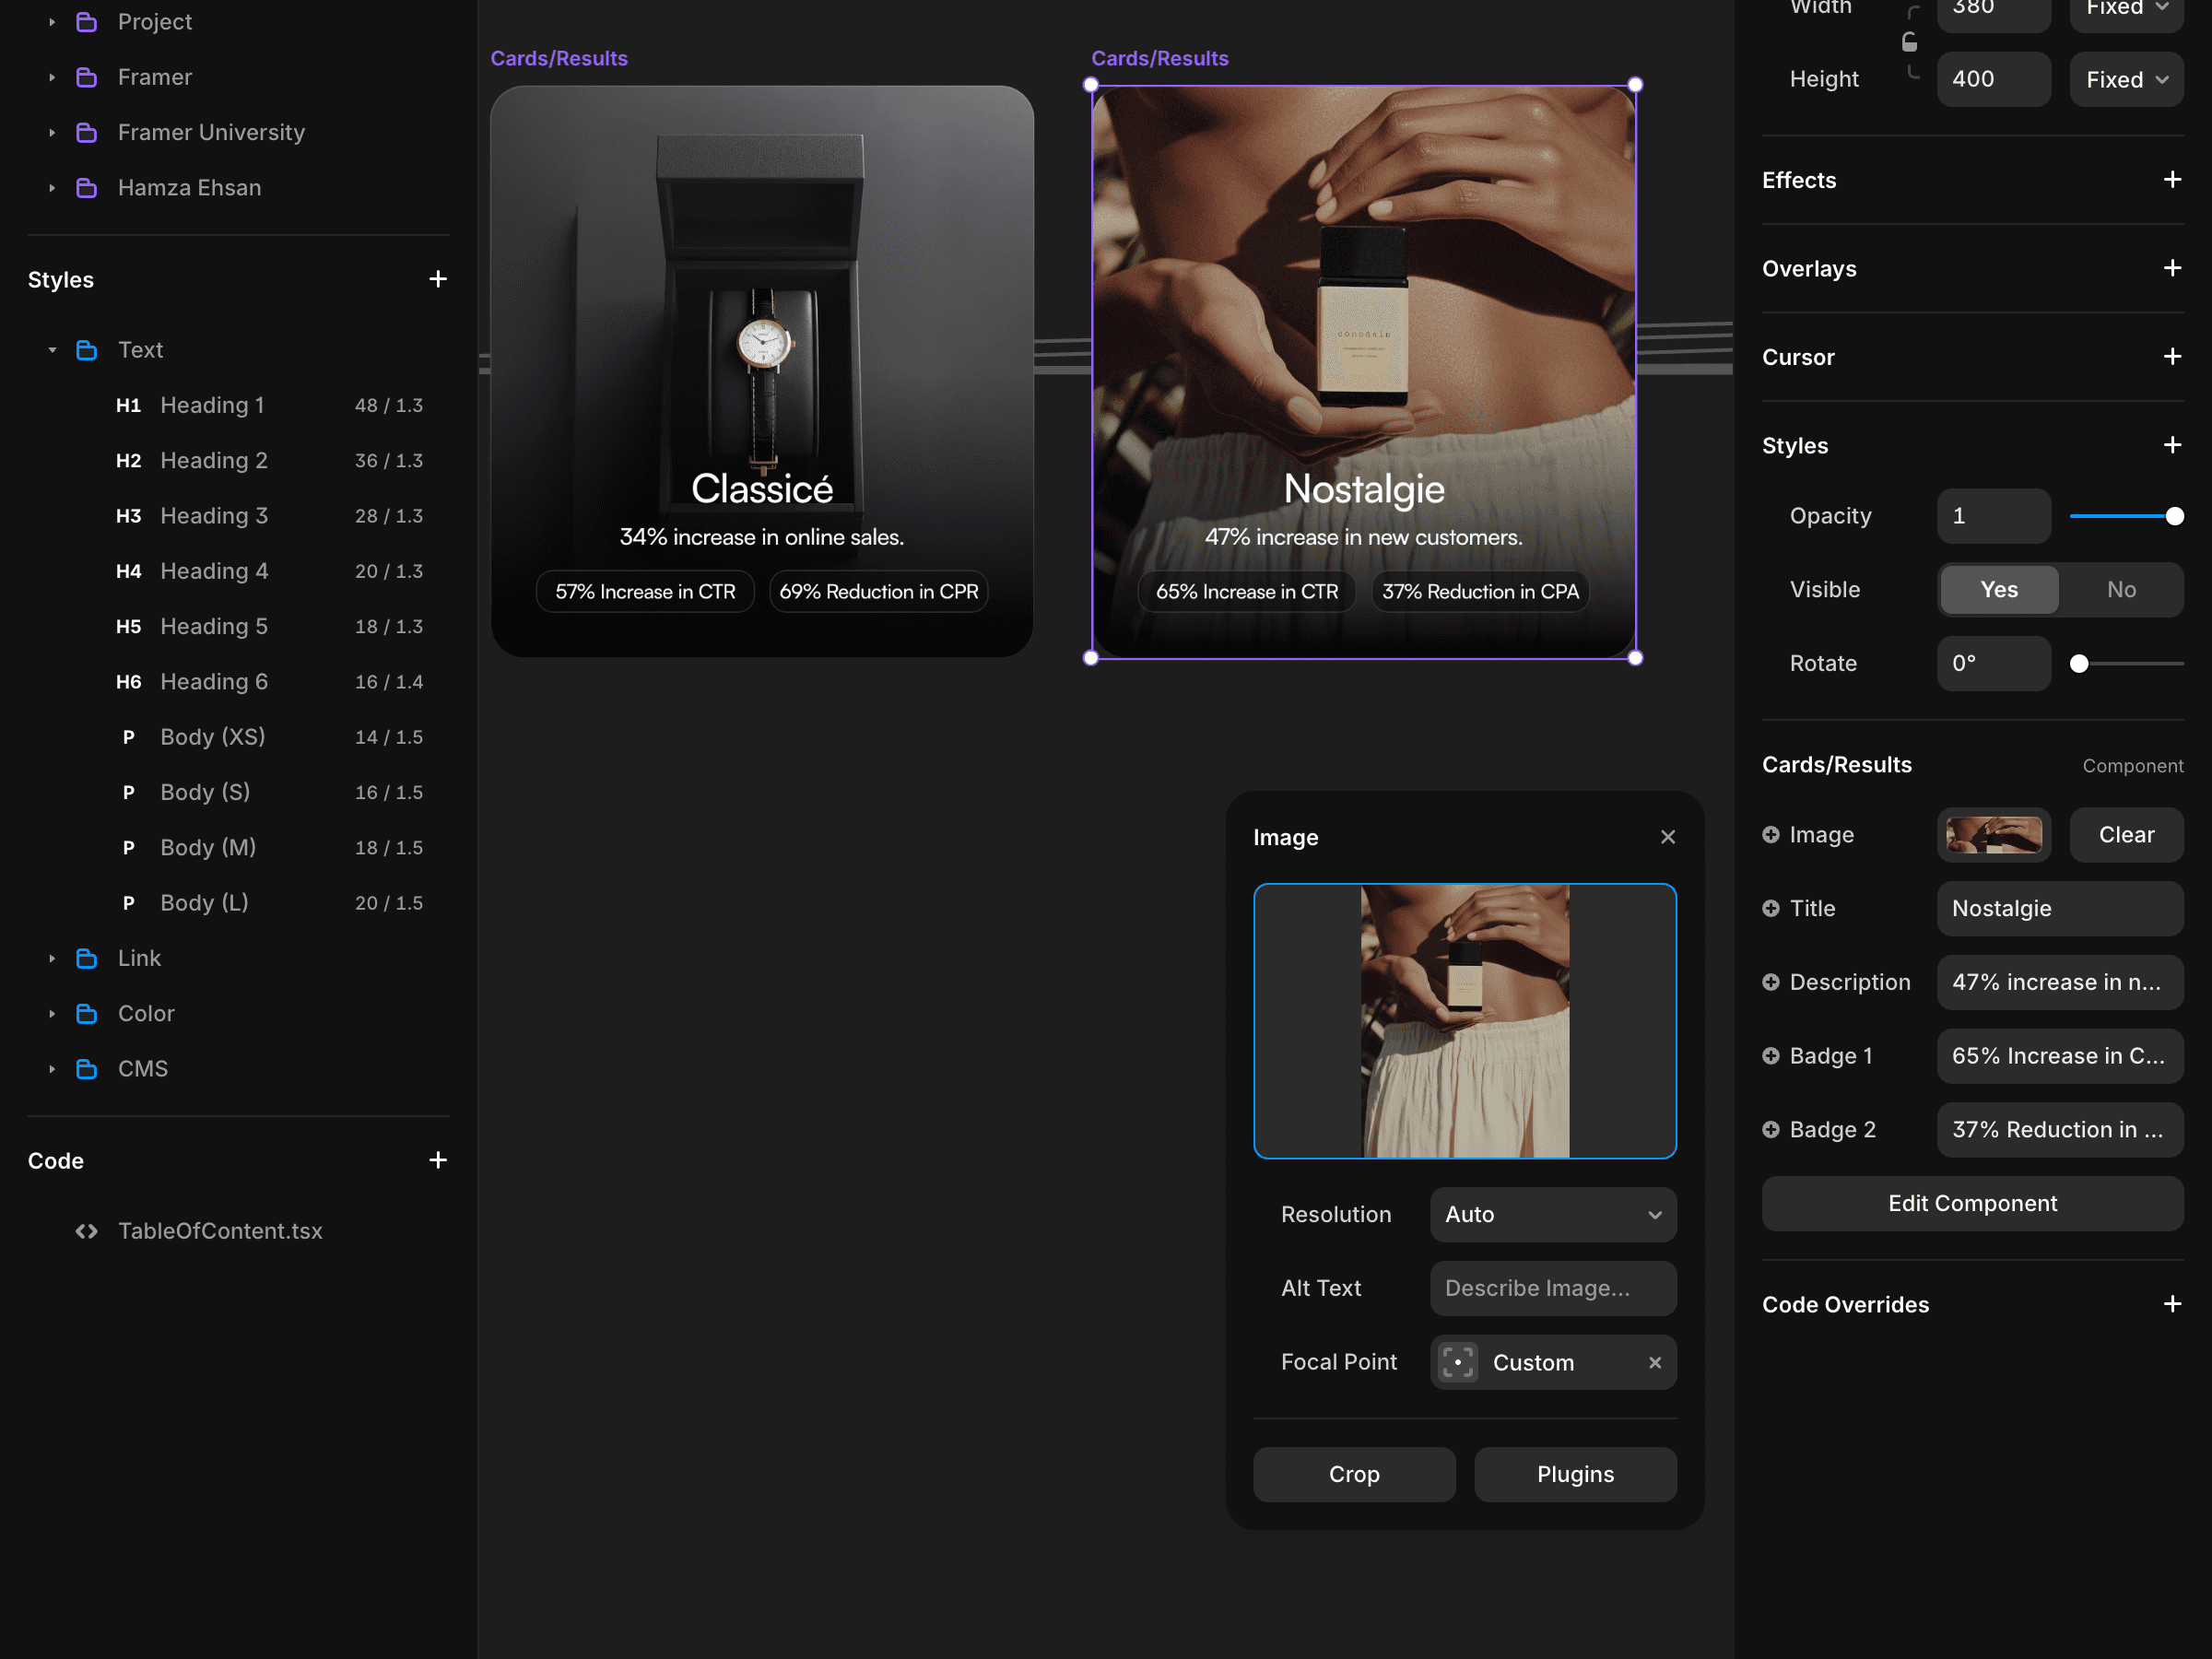
Now that your colors and fonts reflect your brand, it's time to replace the placeholder content with your actual text and images. Double-click any text element to edit it directly on the canvas—the process is intuitive, similar to working in a word processor.
For images, there are two types:
Standard images: Just click on them and use the panel on the right to upload your own
Component images: Click the component first, then look for the image option in the right panel
Try to keep your images roughly the same size as the ones you're replacing. Framer handles image scaling well, but there are limits—especially when dealing with specific aspect ratios in designed layouts.
For repetitive sections like team profiles or portfolio items, they're usually hooked up to the CMS. Just click on the CMS option at the top and you can update all those cards in one go.
As for text content, focus on clarity and brevity.
Visitors typically scan rather than read websites thoroughly, so your content should be concise and organized with clear headings to guide the user's attention to important information.
When writing copy, I've found that bulleted lists and short paragraphs perform better than dense blocks of text—just because they're easier to scan quickly.
Step 3: Adding and removing pages
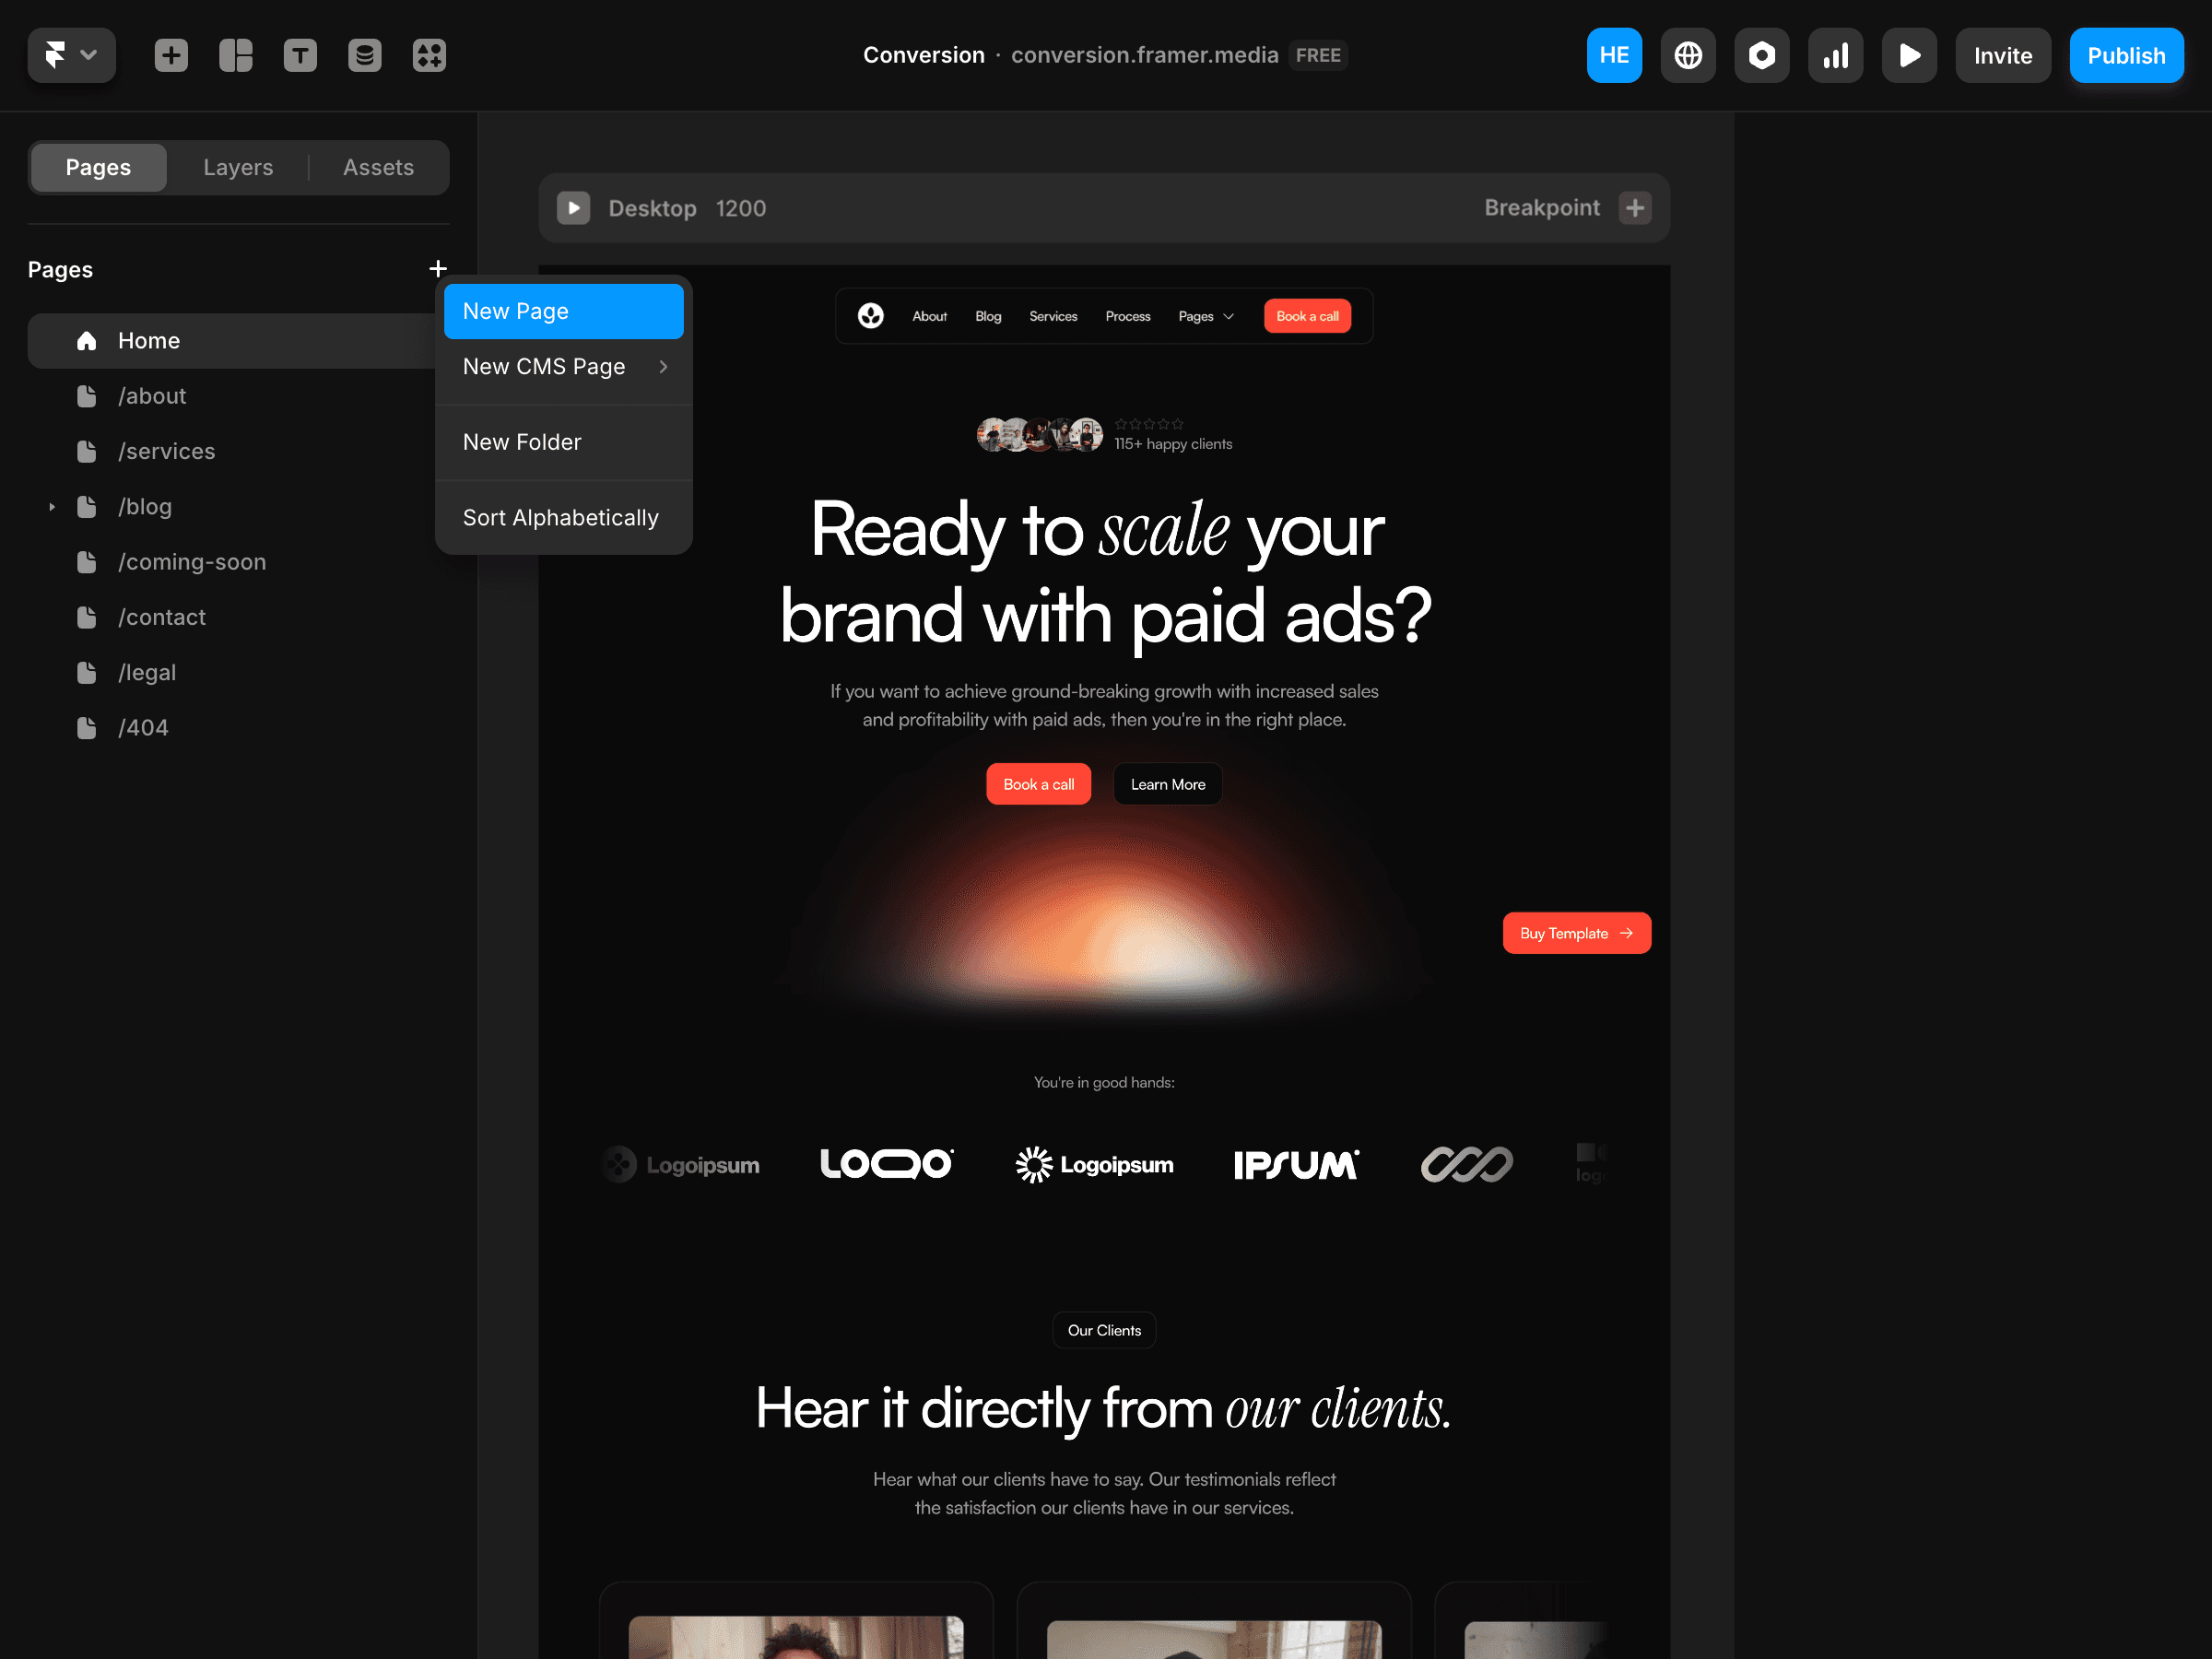
Let's organize your site's structure next. Most templates come with extra pages you don't need, so let's clean things up.
On the left sidebar, you'll see all your pages. Your Home page can't be deleted - it's the front door to your site. All other pages can be modified or removed as needed.
Use the "+" button at the top of the pages pane to add a new page.
To delete a page, hover until you see three dots, click them (or right-click), and select "Delete". Easy.
Renaming pages is simple too - double-click the name and type. Framer automatically sorts the URL for you, so you don’t need to think about that part.
My favourite time-saver is the duplicate option.
Instead of building new pages from scratch, I often duplicate an existing page that has a similar layout to what I need. This approach has halved my design time on complex sites.
Components and interactions
This is where your site truly becomes custom - where your site stops looking like a template and starts feeling custom-built.
Look for purple outlines when you select elements - that's how you know it’s a component.
To make these components your own:
Click on one to select it
Check out the right panel to discover all its settings
Play with the different variants using the dropdowns
Tweak away until it looks just right
Most decent templates come packed with interactive elements - buttons that animate when you hover, scroll effects that trigger as you move down the page, and various popups. You can hop into preview mode and move around your site to see how they’ll look when it’s live.
Here are some things to play with for that premium feel:
Tweak how buttons react when hovered (subtle is usually better)
Adjust how images or text react when you scroll past
Customise your contact form fields and "thanks for submitting" message
Experiment with transitions between sections
One trick I love using is combining different components to create something new.
I'll duplicate a section, remove parts I don't need, and rearrange what's left. This gives custom layouts while keeping that polished, professional feel.
Just keep in mind that the point of all these interactions is to guide your visitors, not make them dizzy! Keep animations purposeful and you'll create a site that feels premium.
My essential checklist for launching your Framer website
You've turned a generic template into something that looks like your brand. Nice one!
But before you share your creation with the world, let's make sure it's not just good-looking but actually functional.
Here's a checklist to run through before hitting publish:
Page titles and meta descriptions: This is what shows up in Google results, so don't skip it! You can learn more about Metadata here.
Alt text for images: Describe what's in each picture so Google knows what it's looking at and visually impaired visitors can still understand your content.
Mobile responsiveness: Check your site on a phone. If it doesn’t look right, it probably needs a bit more work.
Working links: Click every single button and menu item. Nothing repels like a 404 page.
Form submissions: Test your contact form by sending yourself a nice message.
Google Analytics: This one’s really helpful. You’ll find all you need to know here.
Favicon: This is the tiny icon in browser tabs. Small detail, big impact!
Social sharing image: Set this up so your site doesn't look like a dodgy link when shared on social. Make it something relevant, like your logo.
You’re ready to go!
We've covered it all - finding the right template, making it yours, and getting it launch-ready. Not so hard after all, right?
What I love most about Framer is how it bridges that gap between the same old repetitive templates and complex coding. You get something that looks custom-made without needing a developer (or their invoice).
My best advice? Just start.
Templates are meant to be played with, and you can't break anything permanently. The more you tinker, the more intuitive it becomes.
If you're looking for somewhere to start, my collection of premium Framer templates is designed specifically for customisation no matter your intent. Each one comes with documentation, a walkthrough for usage, and support if you get stuck.
Check out my template store here.