Framer
How to Learn Framer Fast
I learnt to build and monetize websites with Framer in weeks. In this guide, I'll share exactly how I did it, and how you too can learn Framer fast.

Hamza Ehsan
Web Designer & Entrepreneur
Framer has completely transformed how I build websites. It's powerful, flexible, and creates stunning results without needing to understand code.
But I won't sugarcoat it — there's a learning curve. My first time opening Framer, I stared blankly at the canvas for what felt like forever.
Everything felt foreign: the layout, the toolbars, all of it.
Yet within weeks, I not only learned Framer but completely switched from WordPress – my tool of choice for 9 years – and built a template business that now generates over $10,000 monthly.
The secret wasn't endless tutorial watching or expensive courses.
Instead, I used a reverse-engineering approach that few people talk about but accelerated my learning dramatically.
The method combines theory and practice, making concepts stick faster and deeper than traditional learning methods. I've refined this approach over time and now use it literally every time I need to learn something new.
Let me walk you through it step by step.
Why Choose Framer vs Competitors?
Before getting into how to learn Framer, let's talk about why it’s is my platform of choice.
I spent nearly a decade using WordPress for web design. It worked well, but honestly came with constant headaches — hosting issues, plugin conflicts, theme limitations, and a never-ending cycle of updates and maintenance.
Framer squashes those frustrations entirely. Here's why I made the switch:
No technical setup: No hosting to configure, plugins to install, or compatibility issues to troubleshoot
Professional results without coding: Make custom animations, interactions, and layouts that would typically require code
Everything in one place: All your design tools live in a single space
Faster project completion: Projects that took weeks in WordPress can be done in days with Framer
No design limitations: Create practically anything without hitting the "you need to code now" ceiling that comes with most other website builders
What I've noticed most is how impressed clients are by the level of polish and interactivity I can deliver. Feedback which has helped me win more projects and charge higher rates than I ever could have with WordPress.
The Best Way to Learn Framer
The best way to learn Framer is by taking apart what already works – I call this the reverse-engineering method.
Instead of starting from scratch, you’ll go in with a product that’s already finished, and work backwards to understand how it was built.
This combines theory and practice simultaneously. That way, you're not passively consuming information — you're actively finding out how things work in context.
The Framer marketplace is great for finding different templates to learn from. You can start with the free ones for now.
Here's why this method is so effective:
You see the end result first: Understanding what's possible gives you clear goals to work toward
You learn practical techniques: Not theoretical concepts that might not be relevant to real projects
You find shortcuts: Established by designers who've already solved common problems
You build confidence faster: Seeing how professionals structure their work will give you a rough blueprint to follow
Let’s get into how you can apply this method step by step.
How To Learn Framer Fast
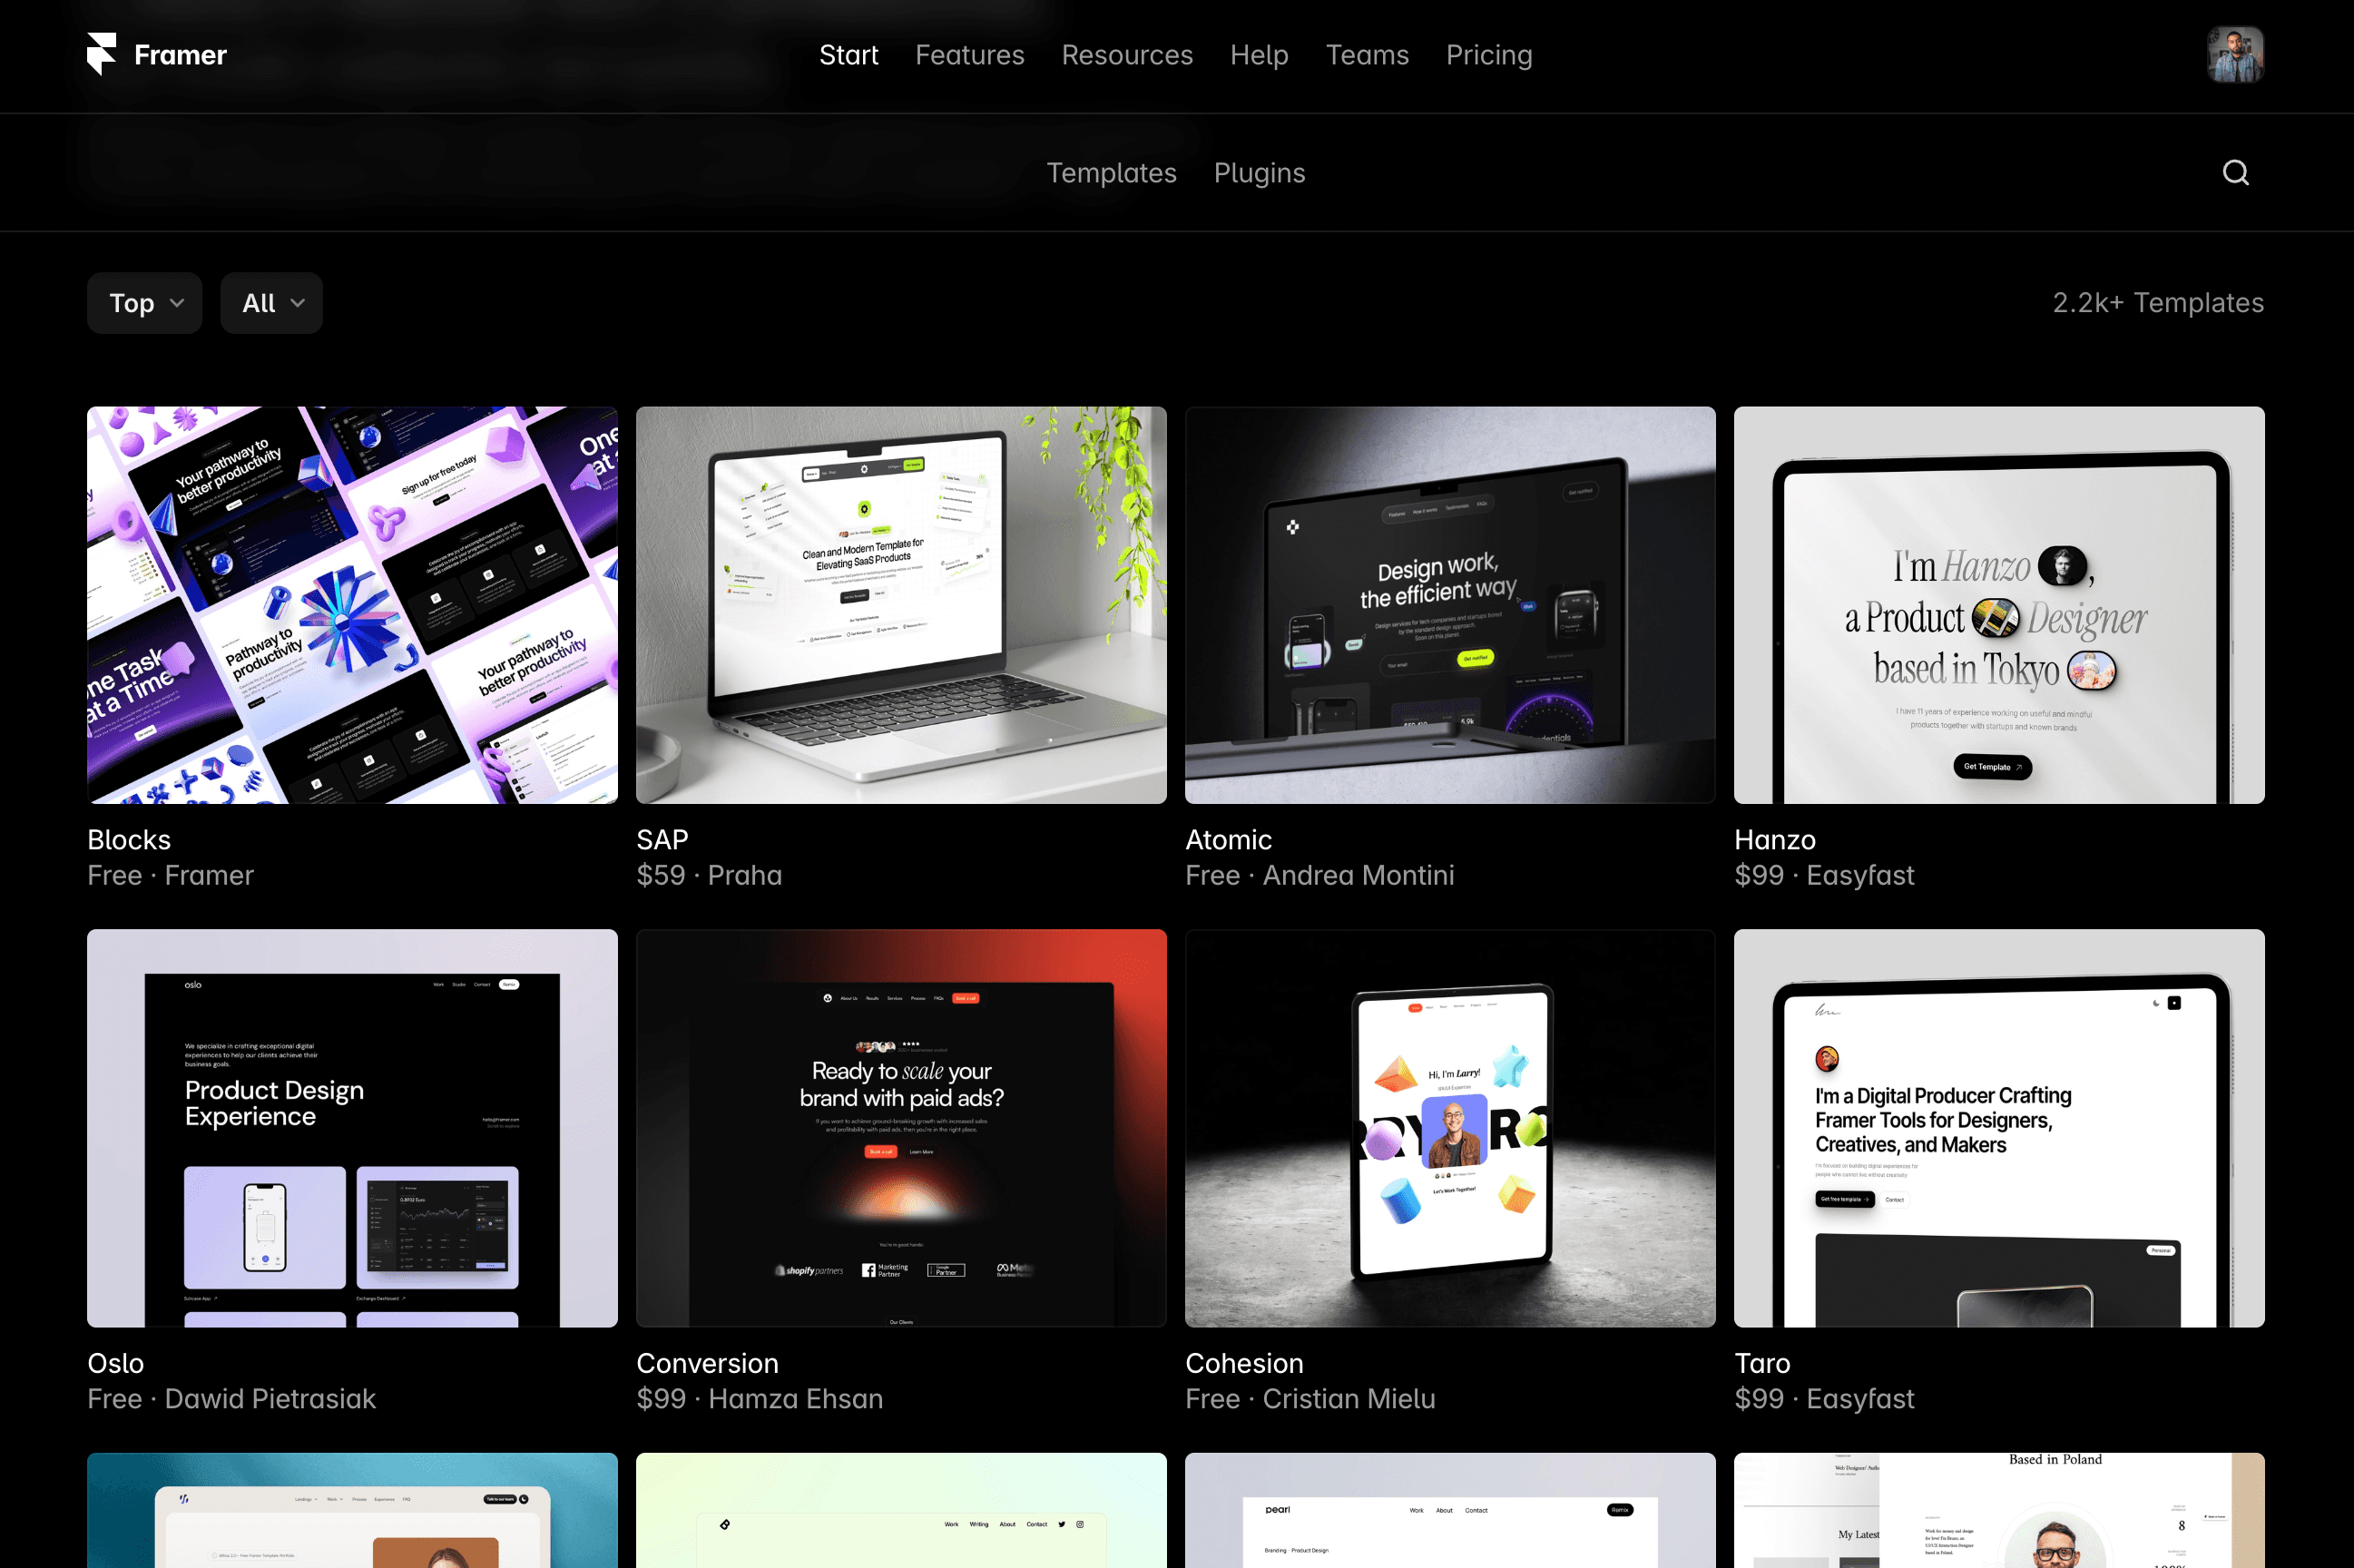
Step 1: Finding the Right Framer Templates
Learning starts with choosing the right templates.
The Framer Template Marketplace is a great resource – offering hundreds of professional-grade templates. You’ll find everything from landing pages to multi-page websites.
It’s best to start with the free options while you’re getting comfortable with Framer's interface. The marketplace has some surprisingly well-built options for beginners!
Once you feel confident with the free options, you’ll be able to start thinking about paid templates with more advanced features, interactions, and layouts.
When choosing templates, look for:
Relevance to your goals: Pick templates similar to what you want to build
Varying complexity: Start simple, then gradually move to more complex designs
Different styles: Choose templates with diverse layouts and interactions
Well-documented components: Some templates include notes on how things work
There’s a whole lot to choose from – if you’re feeling overwhelmed, you can always check out my custom built templates, here.
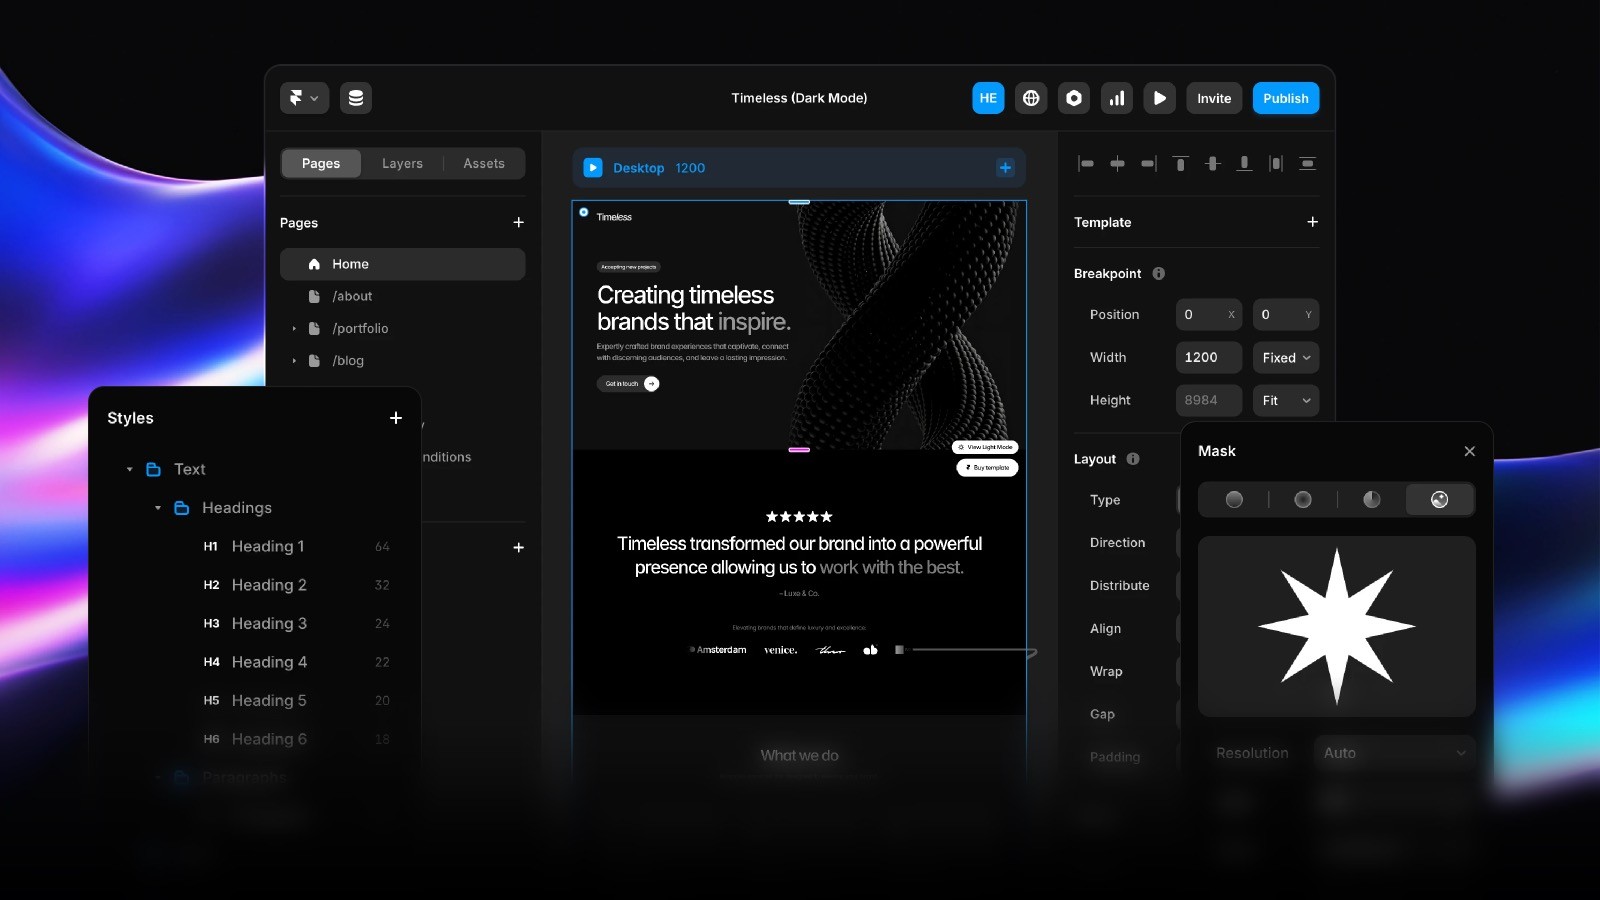
Step 2: Breaking Down Templates
It's time for the fun part. We’re going to dissect your template piece by piece.
Open the template in Framer and play around. I mean that exactly as I said it – click on things, drag things around, have fun with it!
I found it helpful to focus on one section at a time, starting with the simpler elements before getting my teeth into the more complex features.
Here's how to break down a template effectively:
Study the components: Look at how buttons, text blocks, and images are constructed
Examine layouts: Pay attention to spacing, alignment, and how elements are arranged
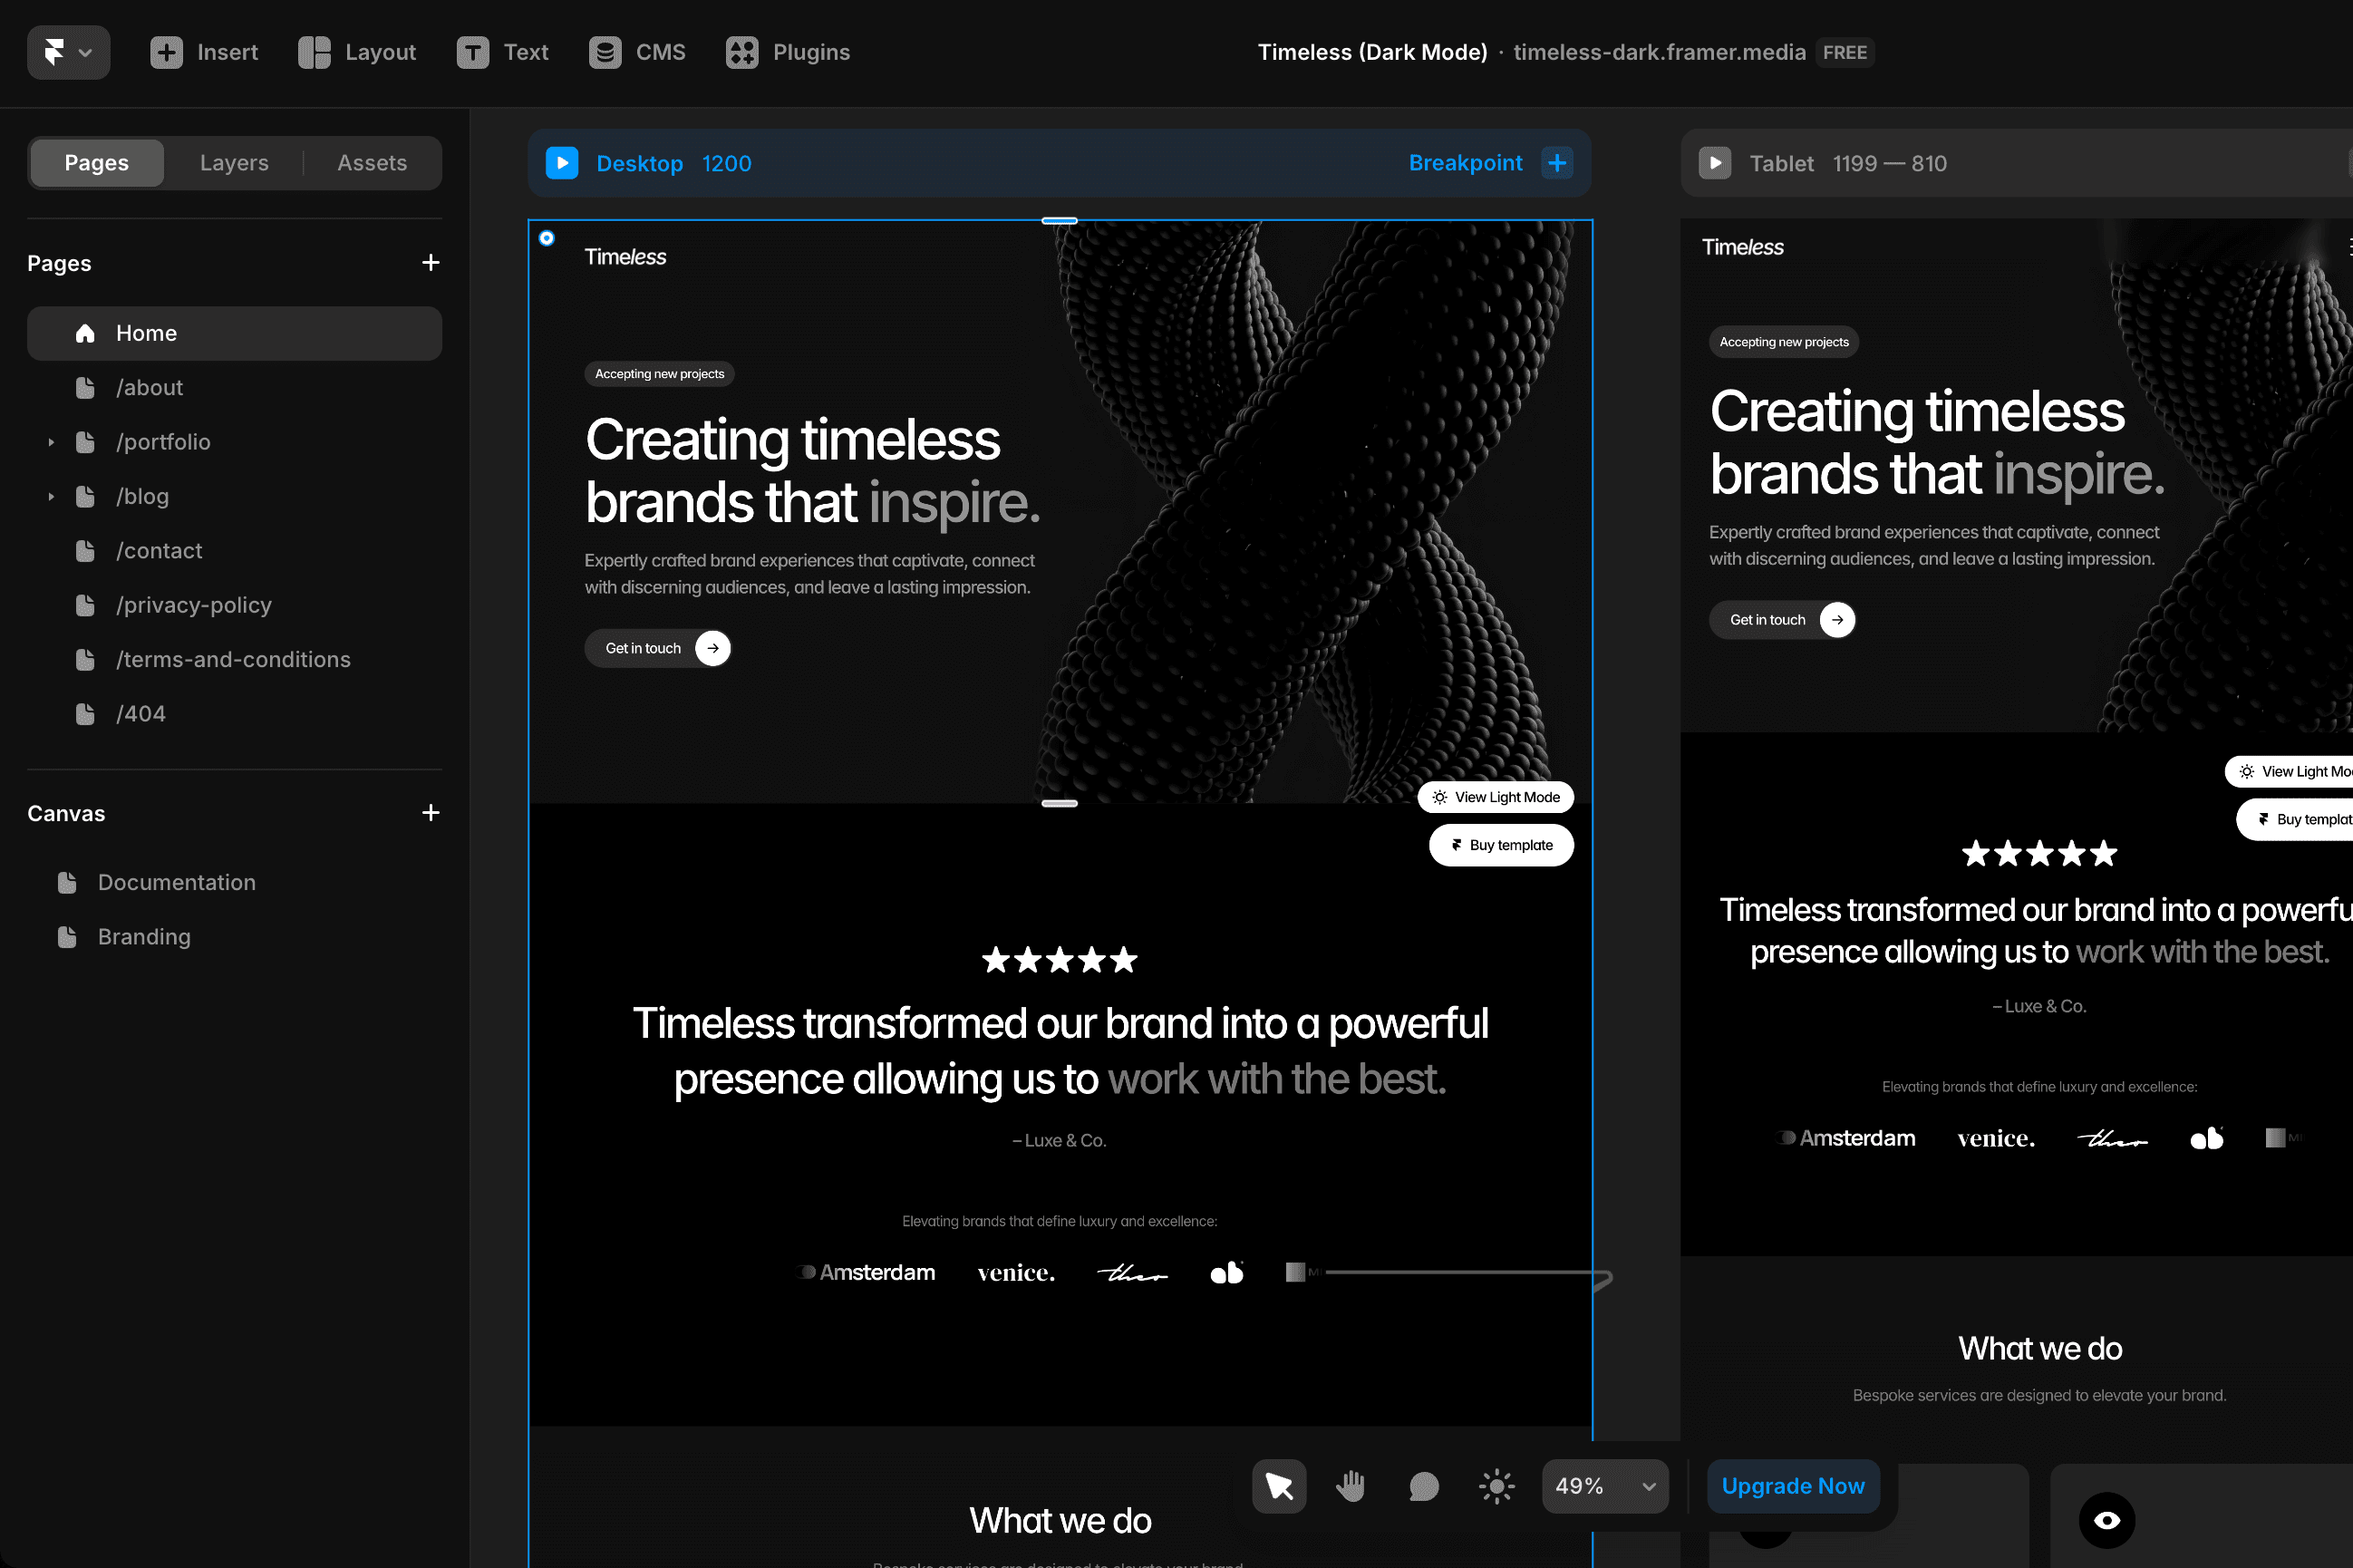
Investigate interactions: Click through the template to see how transitions and animations work
Check responsiveness: Resize the browser to see how the design adapts to different screen sizes
Make small changes to see what happens. You could adjust text sizes, swap images, or tweak colors.
Each small change teaches you how different properties affect the overall design – the best part about this is that it doesn’t feel like learning at all.
Step 3: Experimental Learning
It's time to experiment! This is where you'll truly start to understand how Framer pieces everything together.
The key here is to make intentional changes to see cause and effect.
Keep a mental note (or even better, a written log) of your experiments and their results. This’ll create a personal knowledge base you can reference later when you’re working on your own projects.
Oh, and don't worry about breaking things — it’s all part of learning.
You can always undo changes or go back to the original template if needed.
I wrote about customizing Framer templates recently, going into detail about navigating the canvas and even shared a few fun tasks to help you get your bearings.
If you're just getting started with Framer's interface, check out that guide first to make this step even smoother.
Step 4: Rebuild From Scratch
So, you should know the structure of your template like the back of your hand by now.
It's time to rebuild it from nothing.
Open a blank Framer project alongside your reference template. Then work back and forth between them, recreating the template section by section.
Here's my approach:
Start with structure: Build the basic layout framework first
Add components one by one: Focus on getting each element right before moving to the next
Reference but don't copy: Look at how the original works, then try and make it yourself – the aim is that it works, not that it looks exactly like the original
This process teaches you how to apply everything you've learned, since you'll come across a few challenges to strengthen your problem-solving skills and deepen your understanding of Framer.
I found that after rebuilding a couple of templates from scratch, my confidence with Framer increased a lot. The knowledge sticks because you're actively using it, as opposed to just consuming a bunch of information.
Don't aim for perfection—focus on understanding.
Your rebuilt version might not match the original exactly, and that's fine. The goal is learning how Framer works, not creating a clone.
Step 5: Troubleshooting
Even with the best template, you'll probably hit some roadblocks, but learning how to solve these problems is ultimately how you’ll learn.
When I got stuck, I found these resources helpful:
**Framer Community:** The official forum is full of designers helping each other solve problems
**Framer Academy:** Free tutorials that cover specific features and techniques
**YouTube tutorials:** Great for visual learners who need to see concepts in action – just try not to rely on them.
Template documentation: Most templates include helpful notes from their creators
When you’re troubleshooting, try to understand why something works instead of a quick fix. The easiest way to do this is to ask yourself what the principle behind each solution is.
It’s pretty usual for designers to be stuck on the same issue for ages, so don’t beat yourself up if you’re struggling. The satisfaction of finally solving a problem totally outweighs the stress.
We really do learn from our mistakes!
Timeline and Expectations
Let's be realistic about your Framer learning journey.
In my experience, the timeline looks something like this:
First week: Get comfortable with interface basics
2-3 weeks: Understand layouts and simple interactions
3-4 weeks: Build simple websites independently
1-2 months: Create complex, client-ready projects
Your progress depends on practice time. I dedicated 2-3 hours daily at first, which made a huge difference.
You can track your progress with these milestones:
☑️ Customize a template successfully
☑️ Rebuild a template from scratch
☑️ Create a simple original project
☑️ Build something complex for yourself or a client
One thing I noticed when I was learning was that my skills improved exponentially rather than linearly.
The first week felt really slow, but by week three, the things that confused me became second nature – so be patient with yourself.
Key Takeaways
Reverse-engineering Framer accelerated my career from beginner to designer in a fraction of the time it takes most people to learn.
Here's what to remember:
Templates are your best teachers: They show you what's possible and how to achieve it
Active learning beats passive consumption: Breaking down and rebuilding teaches more than watching tutorials
Experimentation is crucial: Don't be afraid to break things while learning
Problem-solving builds deeper knowledge: Each challenge you overcome strengthens your understanding
Consistency beats intensity: Regular practice, even in short sessions, builds skills faster than occasional marathons
Within three months of starting with Framer, I launched my template store that now generates over $10,000 monthly. I can’t promise the same for you, but I hope this guide has helped you achieve your goals a little faster.
For more tips on productivity, learning Framer, and building profitable online businesses, you can follow me on X (Formerly Twitter) here.
There I share loads of different thoughts and ideas, from daily insights from my journey, to new product updates and general chat about design.